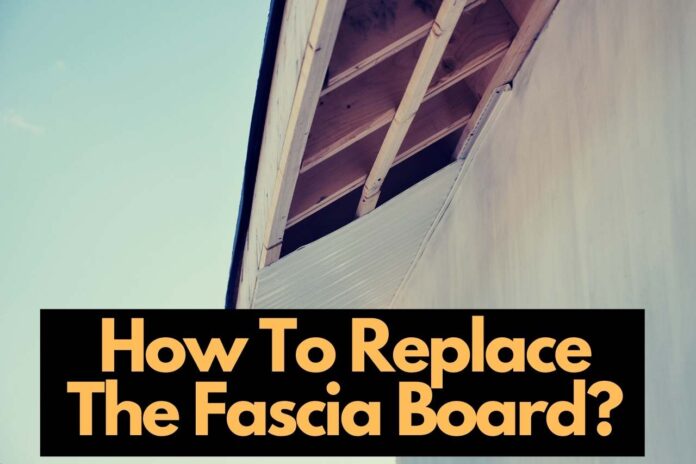
For a variety of reasons, fascia boards are essential to your property. For one thing, they make it seem beautiful and may genuinely match the general décor of your home’s outside. Two, they assist in keeping pests and weather at bay by enclosing the house from the outside. They can also help boost ventilation in your attic, improving its energy efficiency. Third, your gutters are built into the fascia boards in some regions of your property, giving critical support for this vital system. But there come times when they get out of shape, so you might be thinking about how to replace fascia board? This article will help you in guiding all about the fascia board.
What Is Fascia Board?
Fascia may get featured in many contemporary homes today. Older British or Victorian homes with decorative rafter tails, on the other hand, may not have fascia boards. These earlier homes get built without fascia.
Since it was assumed that the broad roof overhangs formed by these decorative rafter tails were large enough to deflect water far away from the home’s foundation. It is a common misconception; this is not always correct.
Water might still make its way back into your home’s foundation. Water can also cause damage to siding, painting, windows, and doors.
Why replace Fascia Board?
The time it takes to repair the fascia board is totally up to you. Replace your fascia board if stains, bending, or chipping hurt your property’s aesthetic. Listen to your roofer’s recommendations if the fascia board is too broken or fragile to continue doing its duty.
Reasons for replacing Fascia board
- Moisture damage: If your fascia board hasn’t been sealed or trimless, moisture exposure might cause it to rot. Gutter blockages, leaking roofs, and other roof difficulties can often expose the fascia to moisture. When exposed to moisture, wood may decay and become unstable. A deteriorating fascia board might collapse and cause gutter damage.
- Mould, algae, and fungus are all organisms that may infect moist fascia boards. Severe fungal and mold infestations on the rooftop can also migrate through fascia boards. A similar appearance may get seen with algae black patches.
- Cracks in the fascia board can get caused by temperature variations, aging, and water damage. In all circumstances, the fractured fascia board should get replaced.
- Animal damage: Animals may be stubborn when locating a haven in your attic. They may nibble away at the fascia board or worsen the tiny gaps between itself and the roof. Termites and other insects are attracted to fascia boards as well.
- Bowing: A bent or bowed fascia board may signal structural issues with the house; thus, talk with your roofing team.
- Water may enter the attic through fascia holes, including nail holes. Small holes may be repaired and sealed, while bigger holes may demand the replacement of the dashboard.
How to replace the fascia board?
So how to replace the fascia board? Follow the steps below:
-
Inspecting
A skilled roofer will begin by checking your fascia board to determine how much needs to get replaced. They will also consider the size of the old board to select the appropriate new board. If your roofers are repairing the fascia board as part of the complete roof replacement. In that case, they will first install new shingles before addressing the fascia.
-
Remove gutter and drip edge
There is no way for, How To Replace The Fascia Board without moving the gutters because they get linked to the fascia board. As a result, your roofers will remove the gutters with care. The gutters may usually get reinstalled on the replacement fascia board if the gutters are in good shape.
Your roofers might also have to remove the drip edge. Provided this is the case, the drip edge may get recycled if it is in excellent condition unless it breaches your manufacturer’s limited warranty needs.
-
Remove Existing Fascia Board
Your roofers will gently remove the screws first from the fascia board and bring it down using the claws of a hammer, a prybar, or a similar instrument.
-
Measure and Cut
The new fascia board will then be measured and cut to fit by your roofers. They could trim the fascia into manageable portions. If this is the case, the portion should span at least two rafters for both ends to get fastened into place.
To keep nailing easier, roofers might indicate which rafters are now on the board before laying it, ensuring that the nails get driven into the rafters. The roofers might also have to attach the fascia board’s corners. To do this, they will cut the board at 45-degree angles to construct a junction.
-
Cover the seams
Water should get kept out of the joints between every piece of wood. Your roofers may use silicone caulk or another sort of sealer.
-
Seal the Wood
The wood itself must now get sealed. Any external wood sealer will do, and you will want to have the roofers apply a layer of paint to match the gutters.
If you utilize fascia trim, there’s no need to paint the wood, and the trim will conceal the wood, making it unnoticeable. Rather than decorating, your roofers will install the trim via measuring, cutting, and attaching it to the fascia board. Specific high-quality woods, such as cedar may get left without sealant under certain conditions.
-
Install Drip Edges and Gutters
Your roofers will reconnect your drip edge and gutters that now the fascia is in place.
Final Thought
With basic carpentry abilities, you can remove the rotten portion of your fascia board and replace it with a new piece of wood. You may also seek expert assistance if you want a competent, experienced professional to manage your fascias.
Related Reads: Discover More Content You’ll Love


![OGX Biotin And Collagen Shampoo Review [Updated One] Ogx Biotin And Collagen Shampoo Review](https://twinkyhome.com/wp-content/uploads/2022/03/Are-chicken-Super-Noodles-vegetarian-1-100x70.jpg)